
PM Surya Ghar Yojana: Complete Guide for Homeowners in India
India is seeing a big change towards using more sustainable energy. By May 2024, the country had reached 84.27 GW of solar energy. This shows a big push towards a greener future for all.
The PM Surya Ghar Yojana is a big step by the government. It helps homeowners use rooftop solar systems. This move makes homes use clean energy and cuts down on monthly bills.
This is a key time for homes in India to switch to cleaner power. Knowing about the PM Surya Ghar Yojana is key for those wanting to cut down on carbon and save on electricity. This guide will help you understand how to start.
Key Takeaways
- India achieved 84.27 GW of solar capacity by May 2024.
- The initiative focuses on empowering homeowners through sustainable energy.
- Participants can expect a significant reduction in monthly utility costs.
- The program supports the national transition toward clean, renewable power.
- Homeowners gain long-term financial benefits by installing rooftop solar systems.
Understanding the PM Surya Ghar Yojana Framework
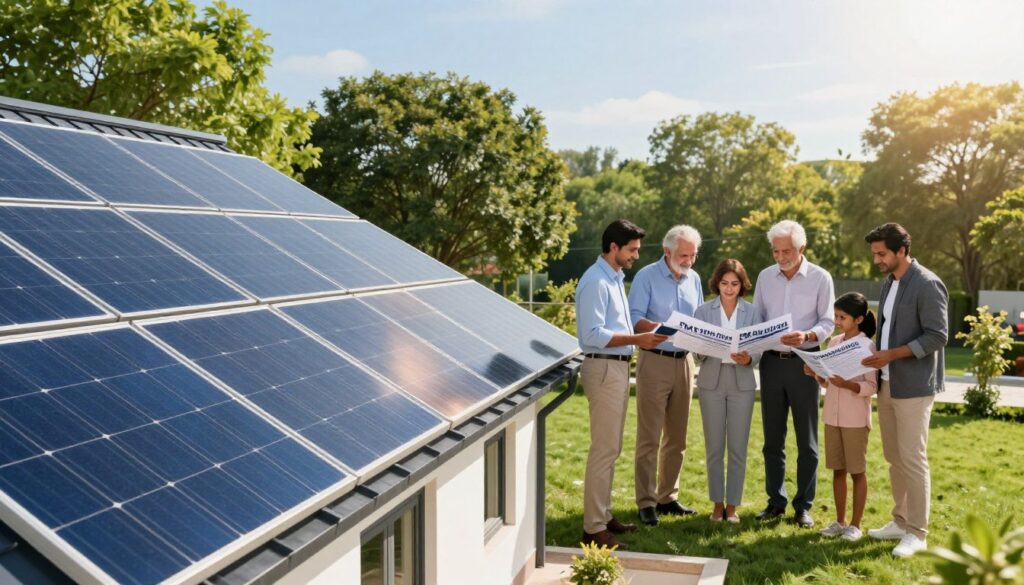
Getting to know the PM Surya Ghar Yojana is key for homeowners wanting to cut down on electricity bills. This program is the main way the Indian government pushes for more homes to use clean energy. It aims to make solar power easy for millions of families to use.
Objectives of the National Rooftop Solar Scheme
The main aim is to give 300 units of free electricity each month to one crore homes. The government wants to make solar panels more affordable for people. This move helps the environment and cuts down on using old power sources.
This plan is also big for India’s goal to use more green energy. It helps more people join in by offering them support. The PM Surya Ghar Yojana turns homes into their own power plants.
Eligibility Criteria for Indian Homeowners
To join, homeowners need to meet certain rules. First, you must have a valid electricity connection in your name or a family member’s. This makes sure the help goes to real homes that use the grid.
Also, your roof must be strong enough for solar panels. It needs to get enough sunlight all day. Check if your roof is big enough for the solar system you want before applying.
Financial Benefits and Solar Panel Subsidy Structure
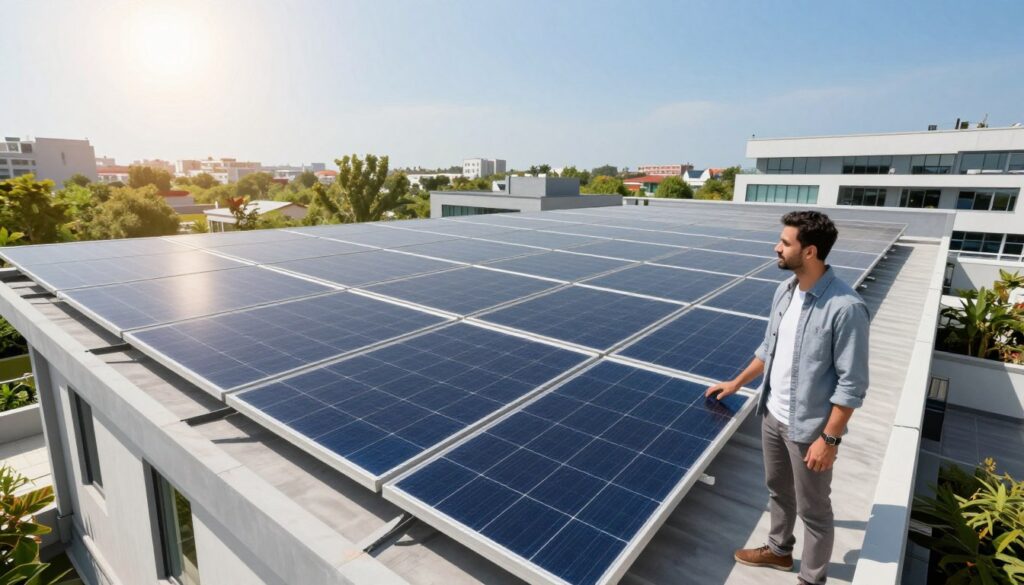
The financial scene for home solar power in India is changing a lot. The PM Surya Ghar Yojana gives big financial help to encourage people to use clean energy. This help makes it easier for families to get sustainable power.
Breakdown of Subsidy Tiers Based on Capacity
The rooftop solar subsidy rewards homes based on how big their solar system is. It offers different amounts of money to make small and medium systems affordable for everyone.
| System Capacity | Subsidy per kW | Total Subsidy Amount |
|---|---|---|
| Up to 2 kW | Rs. 30,000 | Up to Rs. 60,000 |
| Above 2 kW up to 3 kW | Rs. 18,000 | Up to Rs. 78,000 |
| Above 3 kW | Fixed Cap | Rs. 78,000 |
Calculating Your Potential Savings on Electricity Bills
Getting a solar system cuts down your monthly bills right away. You make your own electricity, so you use less from the grid. Many people see their bills fall by up to 90%.
This solar panel subsidy makes your investment pay off faster. You save money each month, which you can use for other things or for keeping your system running.
Long-term Financial Impact of Solar Adoption
The PM Surya Ghar Yojana also brings long-term financial benefits. Solar panels last 25 years, giving you free or cheap energy for decades after you pay off the cost.
Also, your property value goes up, and you won’t have to worry about electricity price hikes. Choosing solar power is a smart move that saves you money for years.
Estimating the Total Solar Installation Cost
Figuring out the solar installation cost is key to becoming energy independent. The government offers a rooftop solar subsidy to help with costs. Still, homeowners need to budget for the initial setup. Knowing these costs helps you make smart choices for your future.
Factors Influencing System Pricing
Many things affect your solar project’s price. The system’s size is the biggest factor, as bigger systems need more materials and work. For example, a 3 kW system usually costs around Rs. 1,80,000 before any government help.
Your location and roof condition also matter. If your roof is tricky or needs extra electrical work, costs can go up. Talking to a trusted vendor can give you a quote that fits your specific needs.
Components of a Standard Rooftop Solar Setup
A good solar system has key parts that work together. The solar photovoltaic (PV) module catches sunlight. You also need a top-notch inverter to make the electricity usable for your home.
The mounting structure is crucial for holding the panels on your roof. These parts must be high quality to last through bad weather. Choosing high-quality hardware means your system will work well for years.
Comparing Costs Across Different Solar Technologies
Picking the right technology is important to get the most from your rooftop solar subsidy. Monocrystalline panels are efficient but pricier. Polycrystalline panels are cheaper but take up more space.
Think about how much you want to spend versus how much energy you need. By comparing these options, you can find a balance. This way, switching to solar power is both economical and sustainable.
Step-by-Step Application Process for the Subsidy
To get a rooftop solar subsidy, you need to follow a clear process on the government’s digital platform. This makes sure you can switch to clean energy easily. By following the steps, your solar panel subsidy will go through the Direct Benefit Transfer (DBT) smoothly.
Registering on the Official Portal
First, go to the national portal for solar energy. You’ll need to make an account with your mobile number, email, and electricity number. Make sure your information is correct to link your application to your local DISCOM.
After signing up, pick your state and utility provider from the menu. This ensures your application goes to the right place for quick processing. Have your latest electricity bill ready to check your details.
Submitting Technical Documents and Site Feasibility
Next, you’ll need to send in technical documents like proof of roof ownership and a recent electricity bill. The local DISCOM will then check if your roof is suitable for solar panels. This step is crucial for the safety and efficiency of your system.
If your roof is approved, you’ll get a notification. This means your location is ready for solar installation. Respond quickly to these notifications to avoid delays.
Managing the Vendor Selection and Installation Phase
With approval, you can choose a vetted vendor from the portal’s list. These vendors meet quality standards. After installation, the DISCOM will check the system’s performance.
Once it’s working well, the subsidy will be put into your bank account through DBT. This usually happens within 30 days after the check. Here’s a table showing the main steps in your application.
| Process Stage | Action Required | Expected Outcome |
|---|---|---|
| Registration | Portal sign-up | Unique Application ID |
| Feasibility | DISCOM inspection | Technical Approval |
| Installation | Vendor setup | System Commissioning |
| Disbursement | DBT verification | Subsidy Credit |
Technical Requirements and Quality Standards
Buying a solar system is more than just the upfront cost. It means sticking to strict technical standards. This way, homeowners keep their solar installation cost in check and make sure their system works well for years.
Mandatory Equipment Specifications
The government requires all solar projects to use domestically manufactured solar modules and cells. This helps the local industry and makes sure the parts last long.
All gear must follow the latest rules from the Ministry of New and Renewable Energy (MNRE). Using top-notch inverters and panels is key to keeping your solar installation cost investment safe.
Role of Empanelled Vendors in Ensuring Compliance
Empanelled vendors connect homeowners with government quality standards. They are checked to make sure they have the right skills for safe and efficient setups.
They take care of checking the site and handling the technical details. Choosing a trusted vendor means your system will follow all safety rules, keeping it working well over time.
Maintenance and Performance Monitoring
Keeping your system in top shape is crucial for getting the most out of your solar installation cost. Regular cleaning and electrical checks are a must to avoid power loss.
Today’s solar systems often come with smart monitoring systems. These systems track energy use in real-time. They help spot problems early, making sure your system keeps providing clean energy for your home.
Overcoming Common Challenges in Solar Adoption
Switching to renewable energy is rewarding but comes with challenges. Knowing these obstacles early helps protect your solar installation cost. It also ensures your system works well for many years.
Navigating Net Metering Regulations
Net metering is key for grid-connected solar systems. It lets you send extra power back to the grid. But, dealing with local DISCOMs can be tricky due to different state rules.
- Make sure to apply through the official portal right after setting up your system.
- Work with your vendor to check if all documents meet utility standards.
- Keep in touch with your local electricity office to speed up meter replacement.
Addressing Roof Space and Structural Constraints
Not every roof is right for solar panels, and safety is crucial. A professional should check if your roof can handle the panels’ weight before you decide.
If your roof is small, think about using high-efficiency panels. They make more power in less space. Planning well here can save you from expensive fixes later.
| Constraint Type | Common Solution | Impact on Efficiency |
|---|---|---|
| Limited Roof Area | High-efficiency panels | High |
| Shading Issues | Micro-inverters | Medium |
| Weak Roof Structure | Reinforced mounting | Low |
Managing Post-Installation Support and Warranty
Your solar installation cost covers more than just the equipment. It also includes warranties for long-term peace of mind. Keep all service records and warranties safe.
Most makers offer a 25-year panel warranty and 5 to 10 years for inverters. Regular maintenance checks are key to keep these warranties valid. Make sure your vendor has a clear service agreement for quick fixes.
Conclusion
The PM Surya Ghar Yojana is a big step towards a greener India. Homeowners are key in reaching national renewable energy goals. This move also helps meet the Paris Agreement and protects our planet for the future.
Many families can’t afford to switch to clean energy because of cost. The government helps by offering a solar panel subsidy. This makes clean energy more accessible to millions of homes.
Choosing rooftop systems is the first step to energy freedom. It helps lower your bills and supports a green power grid. Check the official portal to see if you qualify and begin your journey to self-sufficiency.
Using the solar panel subsidy makes your investment worthwhile. Start managing your energy use today. Your effort will help build a stronger, sun-powered India.
 Next Post